How to Use Multi-tasking Feature in Windows 10
Do you know Windows 10 adds a new feature that is not in Windows earlier versions, which helps you to manage multiple tasks at the same time? In Windows 10 desktop you may add up to four windows for multi-tasking.

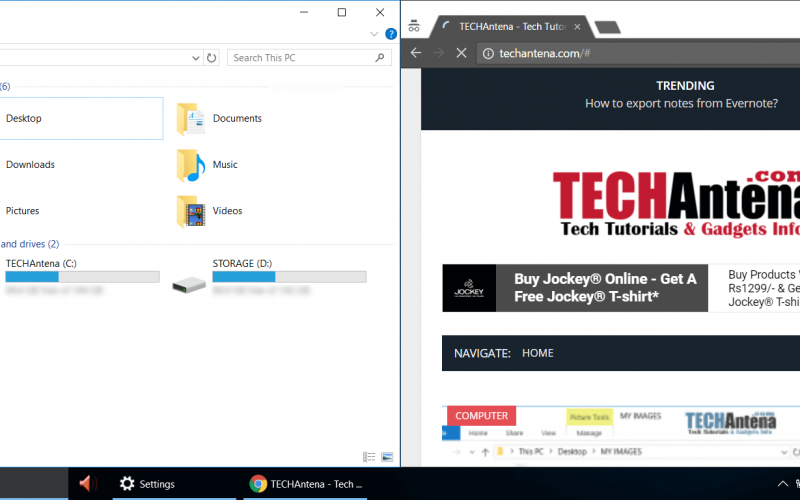
In Windows 10 computer, if you drag the windows of software programs to the corners or sides of the computer screen, the screens will automatically arrange the windows to ensure the multi-tasking.
The multi-tasking feature of Windows is very useful if you want to do the different tasks at the same time on different windows. For example, if you are coding a web page on a live code editor, then you can place the coding windows at the right side of the screen, and place the live web page on a browser window on the left side of the screen.
Before you drag your windows to the sides or corners of the screens of your computer you should make sure that you have enabled the multi-tasking feature on your Windows 10 computer. To enable the multi-tasking feature on your Windows 10 computer follow the below procedures.
Enable Multi-Tasking Feature of Windows
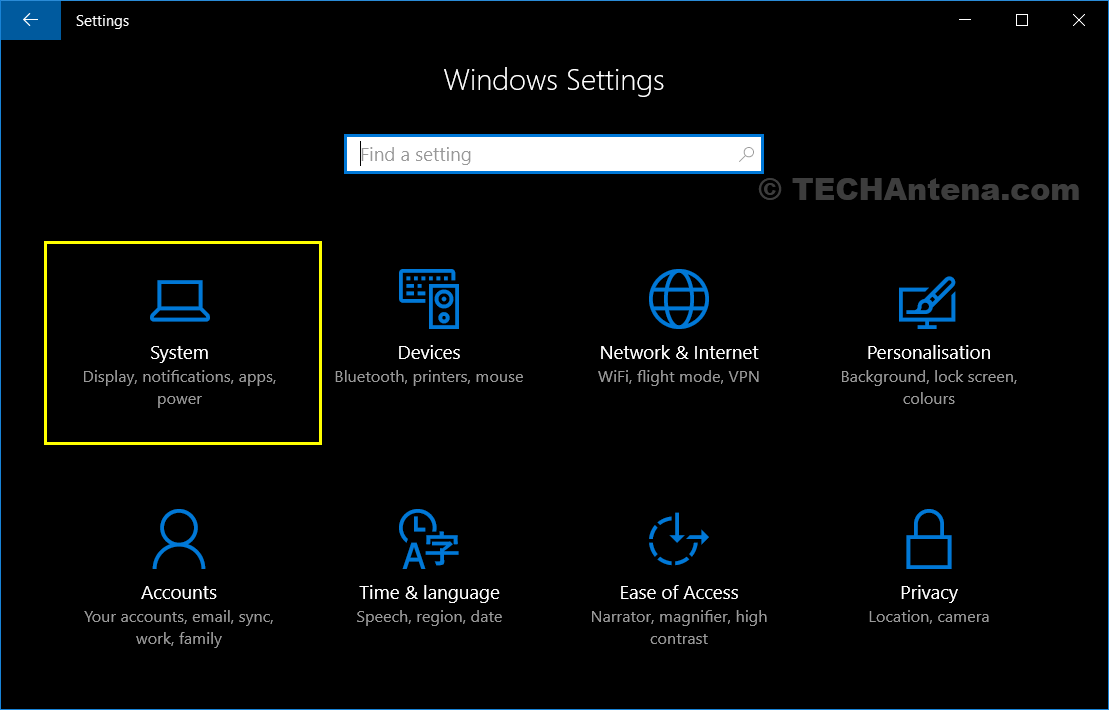
Step 1: In your Windows 10 computer launch the Windows 10 Settings Application.
Step 2: Now in the Windows 10 Settings App, select the System settings.
Multi-Tasking Feature of Windows
Step 3: In this window, you may be shown the system settings for your Windows 10 computer which includes Display, Battery and storage settings. From here choose the Multi-tasking option from the left side panel as shown below.

Multi-Tasking Feature of Windows
Here enable all the four options, refer the above screenshot.
Now you can enjoy the feature of multi-tasking windows on your Windows 10 computer. Drag your windows to the corner or sides of the computer screen to work the feature of multitasking.
You may Like: