How to Change PC Name in Windows 10?

It will be awesome if we can give a custom name for our computer. In Windows 10 we can easily change our personal computer name. This is a simple guide to change PC name Windows 10 computers.
The name of a computer has an important role, especially when joining computer networks. Your PC should have an identifiable custom name if you need to identify your computer from a list of computers connected to a network.
Steps to Change PC Name in Windows 10
Follow the below steps to change PC name on Windows 10 computers. Refer the screenshots.
Step 1: From the Windows 10 start menu launch the Settings app.
Step 2: In Windows 10 Settings app select the System settings.
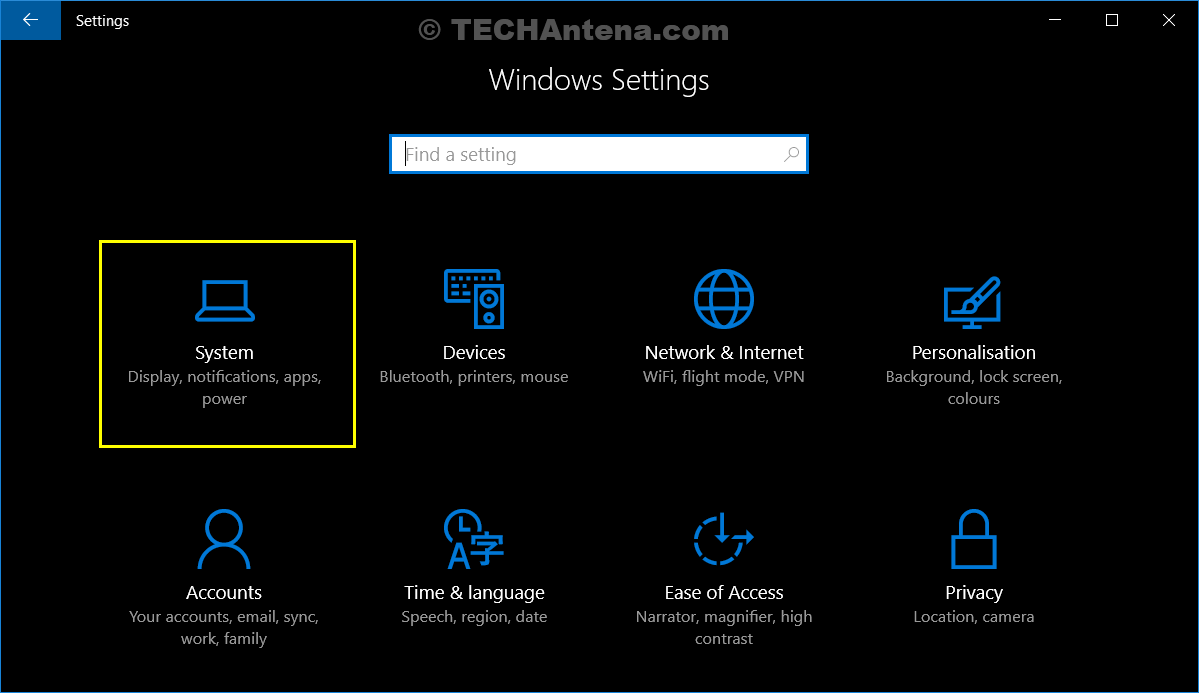
Change PC Name in Windows 10
Step 4: You may have now opened the Windows System Settings, now from the side panel choose the About. Here you can see an option to Rename your Windows 10 PC, click on Rename PC.

Change PC Name in Windows 10
Step 5: Now type the name of your PC in the popup window, and click next.
Note that the white spaces are not allowed in your PC name, you may use hyphen (-) instead of white spaces.

Change PC Name in Windows 10
Step 6: Now you will be prompted to Restart your computer. You can either choose Restart now or Restart Later options. Choose the option Restart now if you wish to take the effect immediately.

Change PC Name in Windows 10
More on Windows 10:
- How to Use Multi-tasking Feature in Windows 10
- How to Rename Multiple Files Batch in Windows Computer?
If this article helped you don’t forget share with your friends.